
My Experience Learning to Draw Notes with Ink Factory’s Online Course
Hi, I'm Olga. I recently joined Elkplan as an Associate in fall 2024 and am excited to join the team. I started to really explore graphic recording and facilitation and was wowed by all the amazing examples out there on the web. It was almost a little overwhelming how talented everyone was. And if you’re anything like me, you started asking a million questions: How do you plan your layout? How do you make sure you have space for everything? How do you pick your colours? How can they draw so fast? What if I’m not that great at illustrations?
If you’re a newbie like me and want a mini crash course into graphic facilitation or graphic note taking, blogs, resources and workshops are a great way to start. To build up my visual notetaking skills, I decided to try out one of the courses suggested in our last post - “Draw your Notes: Intro to Visual Note-Taking” class with Ink Factory on Skillshare. I completed it in December 2024 to see if it could help me get started and the creative cogs turning. Here’s my experience with it!
The link on our post brings you to the Ink Factory page where you can access the course via Skillshare and get a free 1-month free trial via Ink Factory. As a side note, Skillshare offers some neat courses, if you intend on learning more about graphic facilitation or widening your illustrative skill set – try keywords “visual note taking”, “sketchnoting”, “drawing for beginners” or search up specific tools and mediums, such as “Adobe”, “Procreate”, or “watercolours” for example. Within 5 minutes, I found about a dozen classes I was interested in taking (like how to make croissants!) that I will probably check out in the near future.
Ink Factory’s class is brief but quite informative. In total it took me about an hour to complete in one sitting. It was perfect for keeping my attention span, however, I found that each section goes through the topics a little quickly. Luckily, they’re all broken down into short, digestible videos, that are a few minutes each so you can easily pause or return to any topic over and over again. The sections are presented in an easy to understand way and give you a lot of inspiration to work with. As with any introductory class, this one is built around the basics and caters towards loading up your graphic tool kit with things you can easily practice. This can easily pivot into skills for personal note taking, or as foundations for working with groups to capture ideas. It provides loads of prompts throughout the class with downloadable resource sheets as well. The class also answered a few of my own questions such as ‘How do I make my notes more cohesive?’, ‘It’s difficult sometimes to know where the conversation is going – how do I plan for that?’ and ‘What kind of prep can I do ahead of time?’.
Overall, the message of this class is PRACTICE! Practice is the key to becoming an effective graphic note taker. While I like to think that I’m superwoman and capable of multitasking like a pro, I’m reminded that my main goal for graphic recording is to be an active listener and effectively convey that in my notes. That cannot be achieved if I’m trying to remember how to draw a lightbulb while listening for key takeaways! The class also reminded me of other elements that were worth practicing, such as connectors, arrows, and speech or thought bubbles. Elements that should become second nature to me when recording notes, aka accessing my “visual library” as noted in the videos. I decided to practice more elements to add to my library that I might come across in my visual note taking journey such as people. I practiced drawing them in different action positions to convey different activities and emotions.
If you’ve made it through the entire class and have gone through some practice, I’d also highly recommend looking through the “Class Project” gallery where you can see things that other people have drawn. Some of them have comments and feedback as well which are worth the read for pointers and tips – one class participant even documented her own process and which talks she listened to for practice. I thought this was a really cool opportunity to try and find the same talks or podcasts to see if I took away similar messages and how my illustrative decisions might compare. It also gave me more ideas for icons to practice and put my own twist on (I may have gotten stuck on lightbulbs).
Lastly, I really liked the reminder for getting critique and feedback. It’s important to critique my own designs or have others review my work to see if I was able to effectively communicate the message. Afterall, graphic notes are for sharing and I want to make sure that I’m sharing the right information to my audience. Also, visuals appeal differently to everyone – taking in more feedback on how others might want to see things ultimately helps me better understand different learning styles and how to incorporate that into my work.
Overall, I found that this class offered a lot of practical information and tips to get into the practice of visual note taking. It’s a great place to start if you’re interested in this field, or maybe just want to spice up your notes! If you happen to give it a try, I’d love to know what you thought of it – otherwise, keep checking back as I’ll post more resources as I find them!
Happy illustrating!
(Elkplan is not sponsored by Ink Factory or Skillshare)
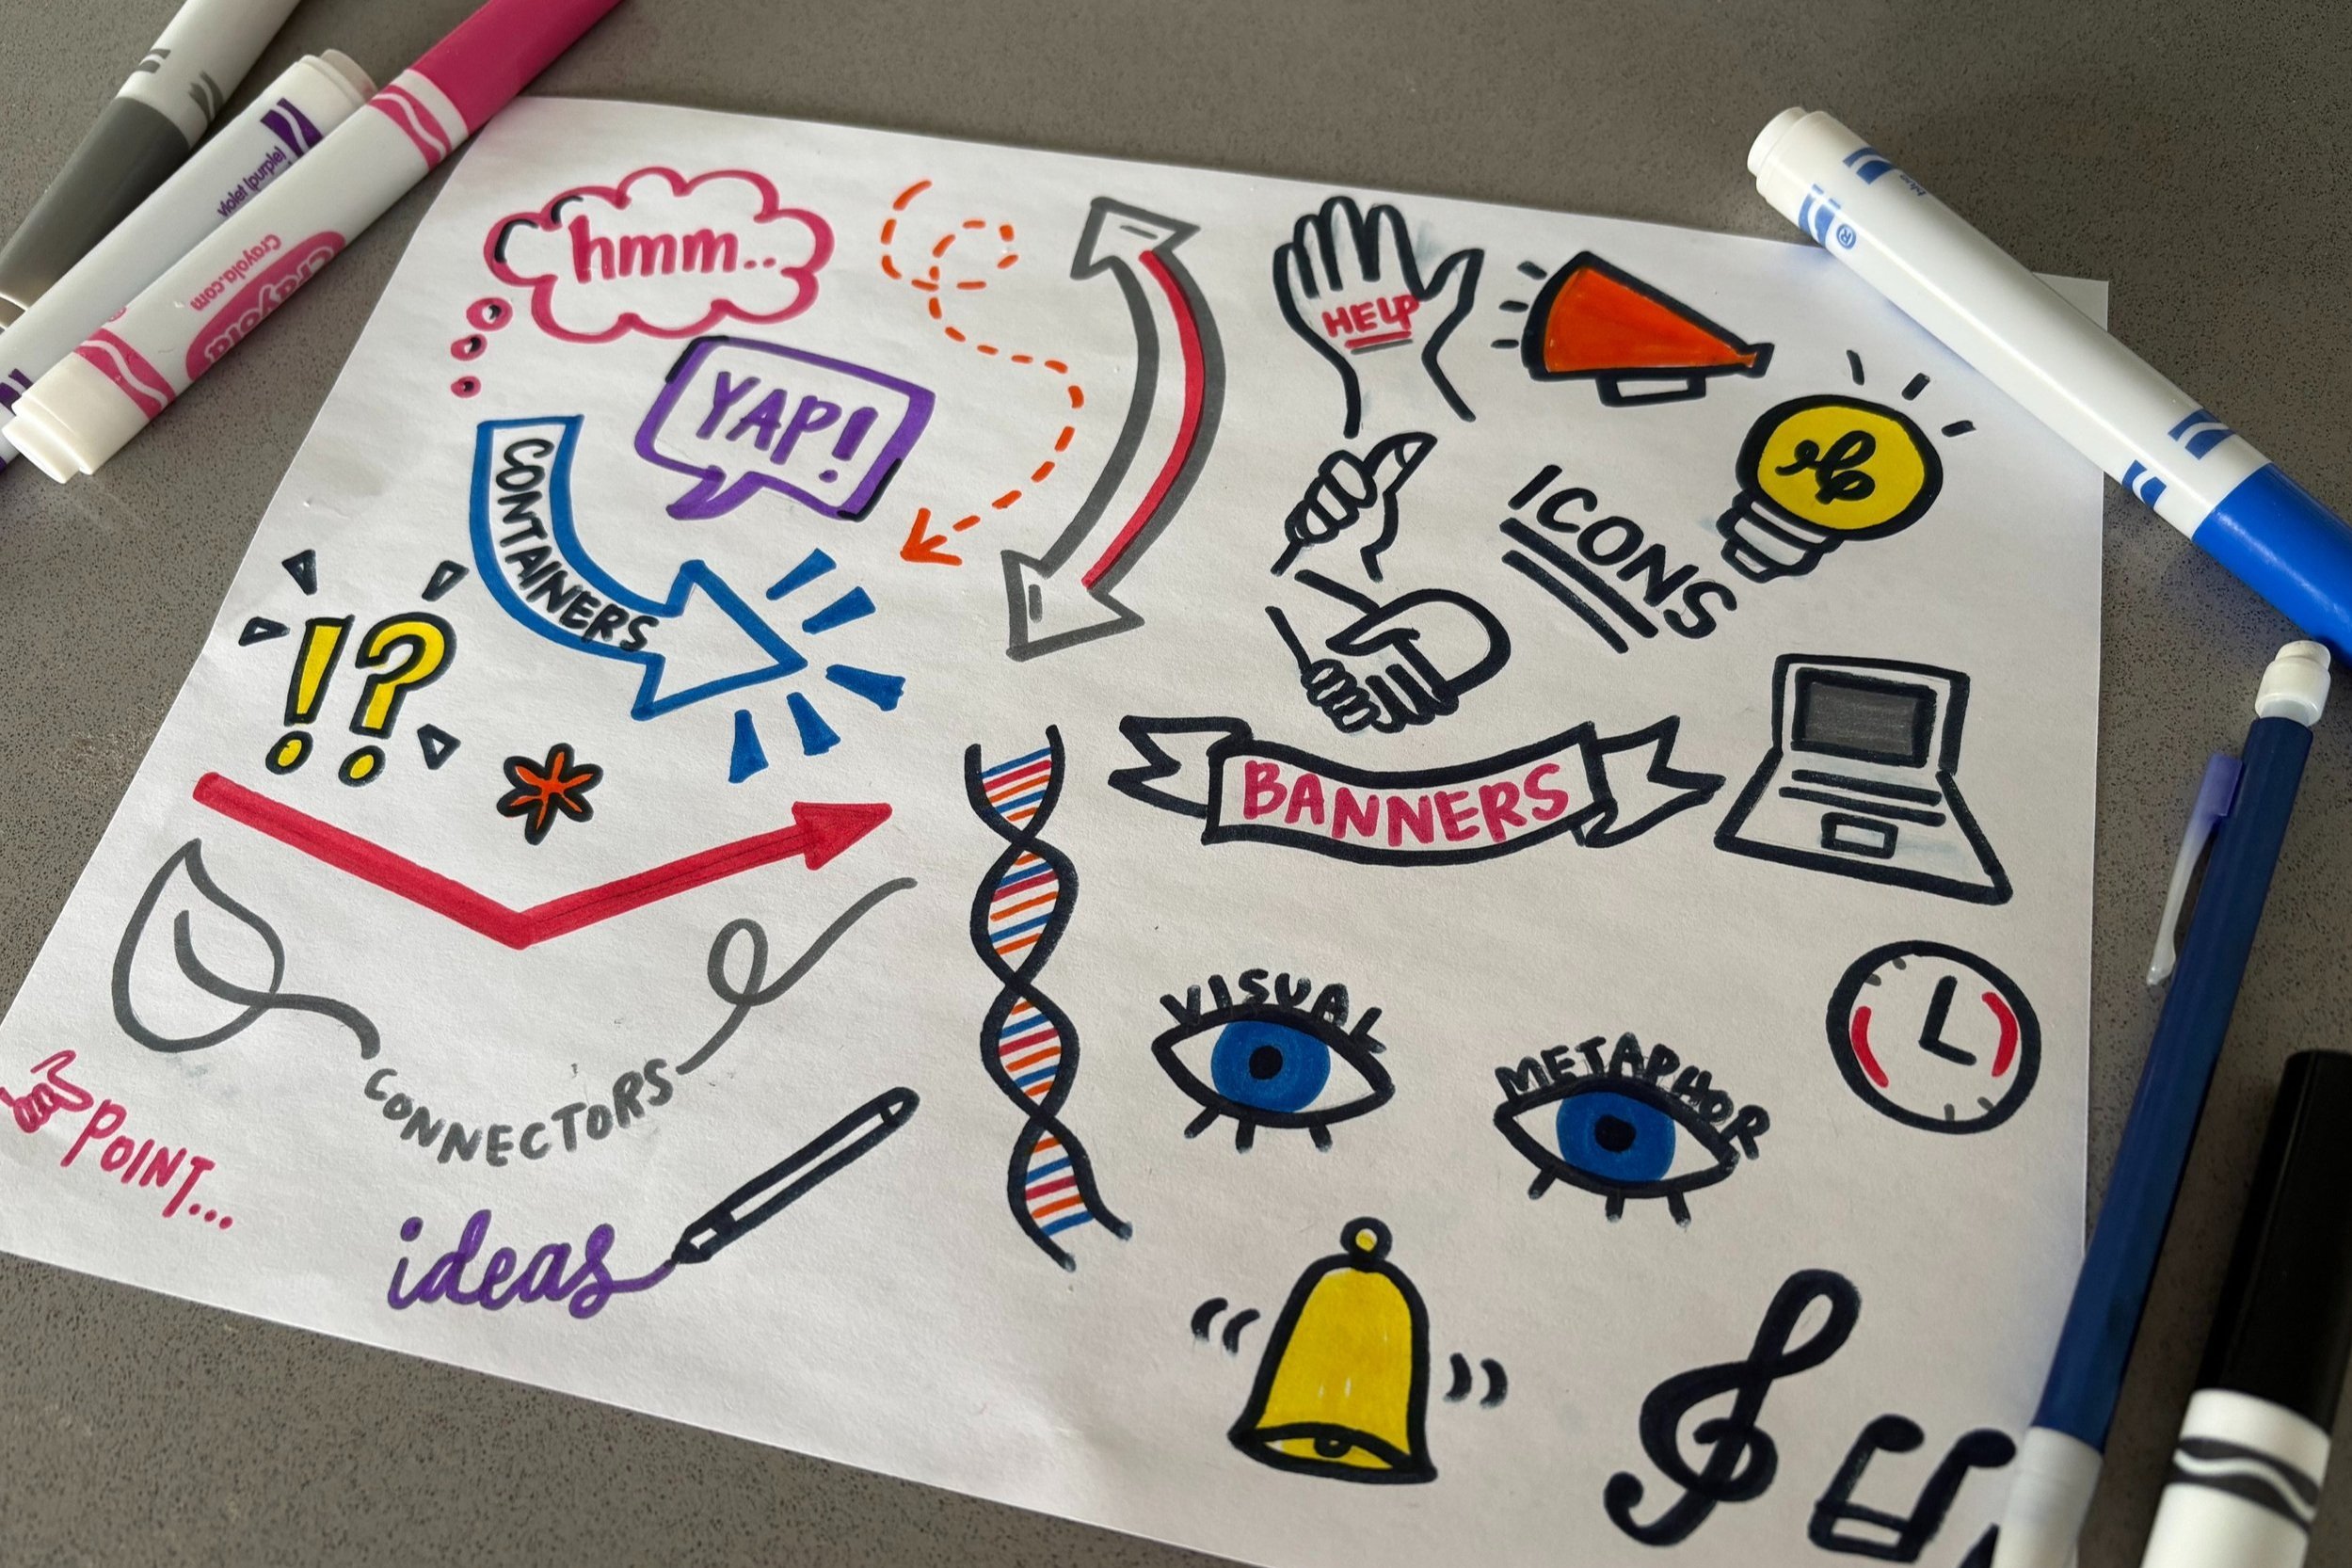
Building my visual library with paper and markers
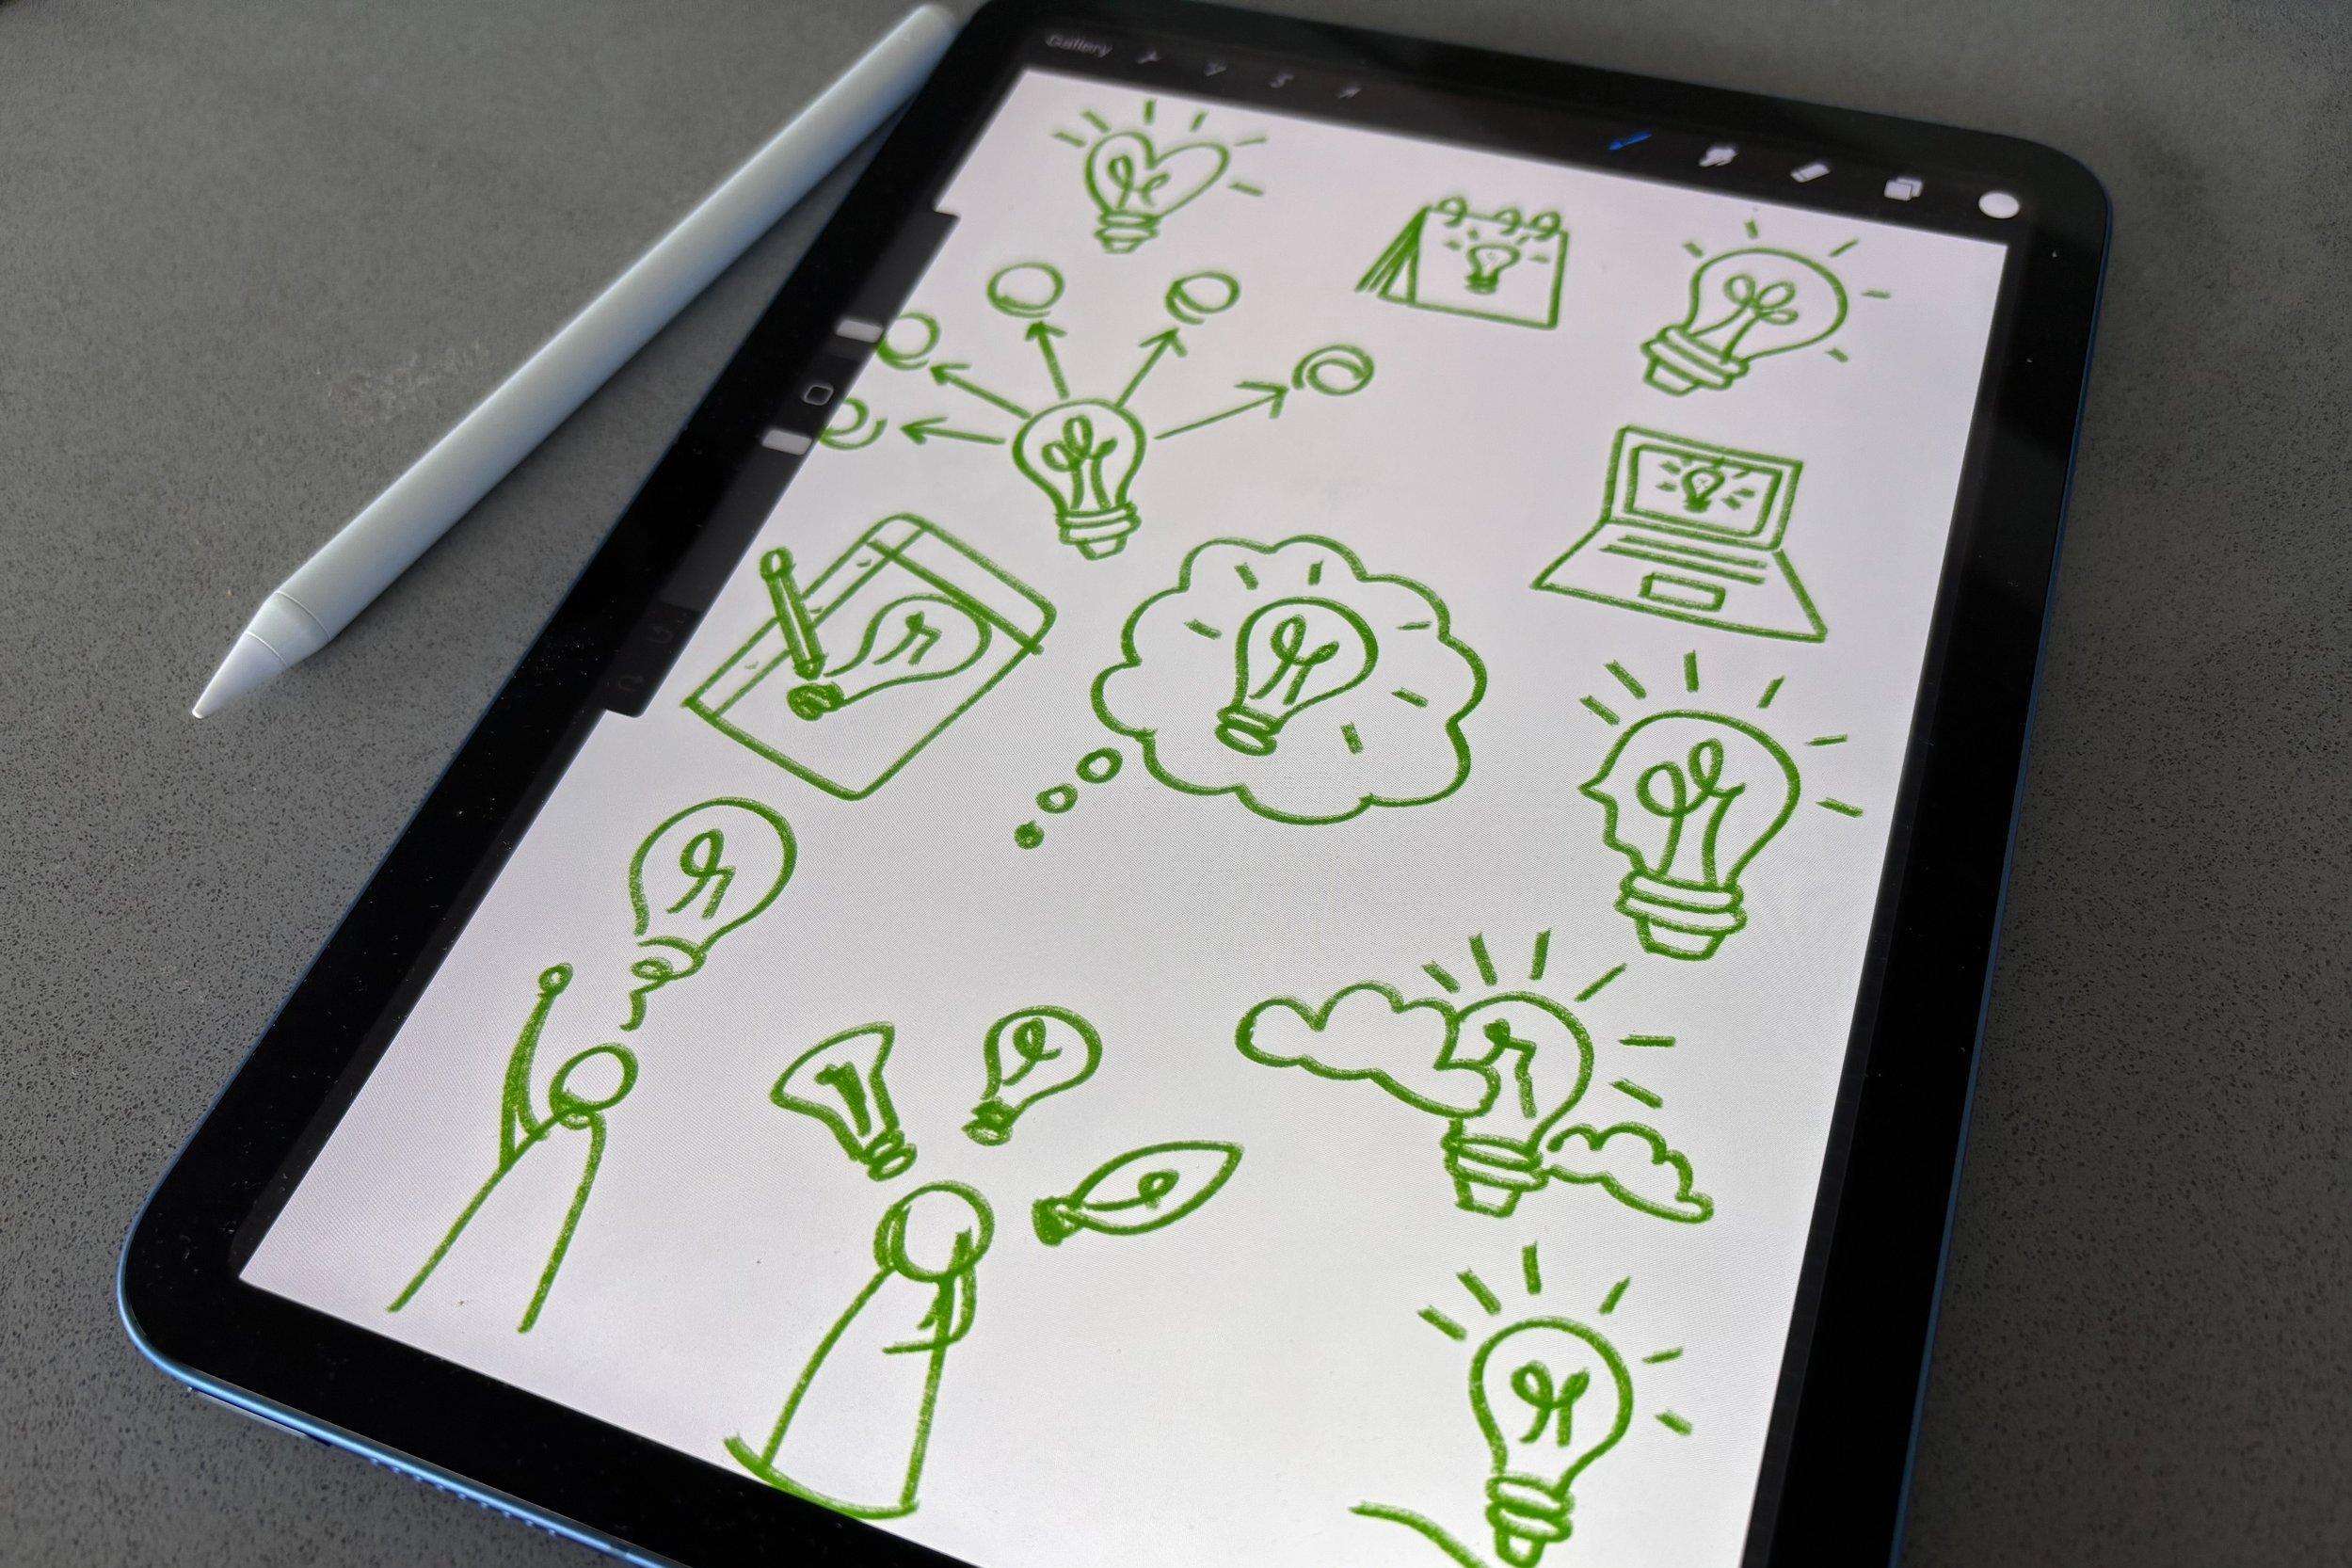
Practicing digitally on an ipad